How to Apply for a Passport Online
Published: November 10, 2026
Source: Passport Seva (passportindia.gov.in)
Fill the passport application on Passport Seva, book your appointment and know what happens next.
Before you start
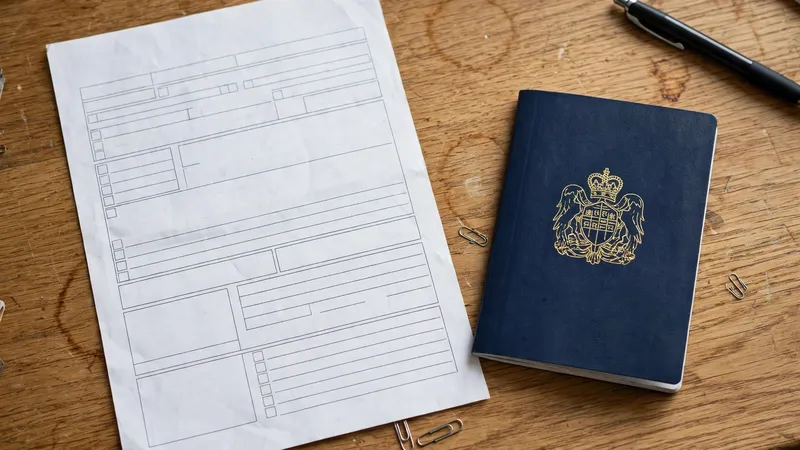
- Keep your documents ready: your Aadhaar card, a proof of your current address, and your birth proof. The exact list depends on your case (fresh or re-issue), so check the document list on the Passport Seva portal before you start.
- Keep a recent passport-size photo ready, and the details from your old passport if this is a re-issue.
- Keep your mobile number and email address handy — the portal uses them for OTPs and for all updates about your application.
Register on Passport Seva
Open your browser and go to the official Passport Seva portal, passportindia.gov.in. On the home page, tap "New User Registration" and fill in your name, date of birth, email address and mobile number, then choose a login ID and password. Read the password rules on the page — it will tell you what the password must contain.
After you submit, the portal will send an OTP or a confirmation link to your email or mobile. Enter the OTP or tap the link to activate your account. Then go back to the portal and log in with the login ID and password you just created. If you already have an account from before, just log in — do not make a second account.
Fill the application form
After logging in, tap "Apply for Fresh Passport" or "Re-issue of Passport", whichever fits your case. A form will open — fill in your personal details, address, family details and other information exactly as they appear on your documents. Even a small spelling difference between the form and your documents can cause trouble later, so copy each detail carefully.
Go through the whole form once more before you submit it. Check your name spelling, date of birth, address and the documents you selected. Once you submit, you can only make limited changes, so it is better to catch a mistake now than at the passport office.
Pay and book an appointment
After the form is submitted, the portal will show the fee for your application. The fee depends on the type of application (fresh or re-issue, normal or Tatkaal) and the number of pages, so check the amount shown on the screen before you pay. Pay online through the payment options the portal shows — if you want to pay by UPI, our guide on how to send money with UPI explains how UPI payments work.
After the payment succeeds, the portal will show a list of Passport Seva Kendras near you and the dates with free slots. Pick the centre and the date and time that suit you, and confirm the appointment. Save or print the appointment receipt — you will need to show it at the centre, along with your application reference number.
Visit with originals
On the appointment day, reach the Passport Seva Kendra a little early and carry your appointment receipt, all original documents, and a photocopy of each document. At the counter, the staff will check your originals against the form, take your photo and fingerprints, and verify your documents.
After the visit, police verification of your address usually happens later — the police may visit your address or ask you to visit the police station, depending on your area. Keep your phone switched on, because updates about verification and dispatch come by SMS and email. The passport is sent to your address after the process is complete.
Tips
- Book the appointment only after the form is fully checked — edits later are limited.
- Fill the form on a computer if you can — it is easier to check long details on a bigger screen than on a phone.
- Carry one extra photocopy of each document, so a missing copy does not waste your visit.
- Keep your application reference number safe — you will need it to track your application.
Keep in mind
- passportindia.gov.in is the only official site; agent sites charge extra for the same form.
- Never share your login ID, password or OTP with anyone, even if they say they are from the passport office.
- Do not pay any person who promises a faster passport for extra money — appointments and verification follow the official process.
- Check the fee on the portal itself before paying. The fee depends on your application type, so do not trust a fixed amount quoted by an agent or a random website.
FAQs
How long does it take?
Normal applications usually complete in a few weeks after verification. The exact time depends on police verification and on how busy your passport office is, so it can vary. You can track your application on the Passport Seva portal with your application reference number to see where it stands.
What if I made a mistake in the form?
If you have not paid and booked the appointment yet, check if the portal lets you edit the form — some fields can be changed before payment. After payment, changes are limited, so tell the staff at the Passport Seva Kendra about the mistake during your visit and ask what to do. In some cases you may need to apply again, so check the form carefully before paying.
What documents do I need to carry?
Carry your Aadhaar card, a proof of your current address, and your birth proof, plus your old passport if this is a re-issue. The exact list depends on your case, so check the document list on the portal for your application type and carry the originals plus one photocopy of each.
What happens if I miss my appointment?
If you miss your appointment, log in to the Passport Seva portal and check the reschedule option — in most cases you can pick a new date, but the rules for rescheduling can vary, so check what the portal shows for your application. Try to reschedule as soon as you can, and carry the new appointment receipt to the centre.